Taking Great Good Fine Ok’s Stage Production to the Next Level
6 Custom built led towers
and virtual simulation environment
controlled via midi messages from synthesizers or music software

This was the first project I worked on for the band Great Good Fine OK. The goal was to create a custom stage lighting solution to take the band’s live show to the next level, creating a truly visceral experience for fans. But considering the fact that GGFO was a small to mid-sized act at the time, performing on small to medium sized stages with minimal help from other people to set up gear and no dedicated lighting technician, the system needed to easily scale to the size of stage they were on and could not require any additional human resources to set the lights up each night or expensive and complex hardware to run it.
In order to achieve these goals, I designed and built a set of 6 LED “light towers” that fit the band’s “Future Nostalgia” aesthetic, could be easily programmed and controlled through MIDI, and could be quickly setup and re-arranged to fit different stage sizes. MIDI was chosen as the control protocol because it's something that all musicians who use synthesizers already understand how to use and have the equipment to run on stage. This means they wouldn’t need to learn new complex lighting design protocols or software and wouldn’t need to purchase additional equipment.
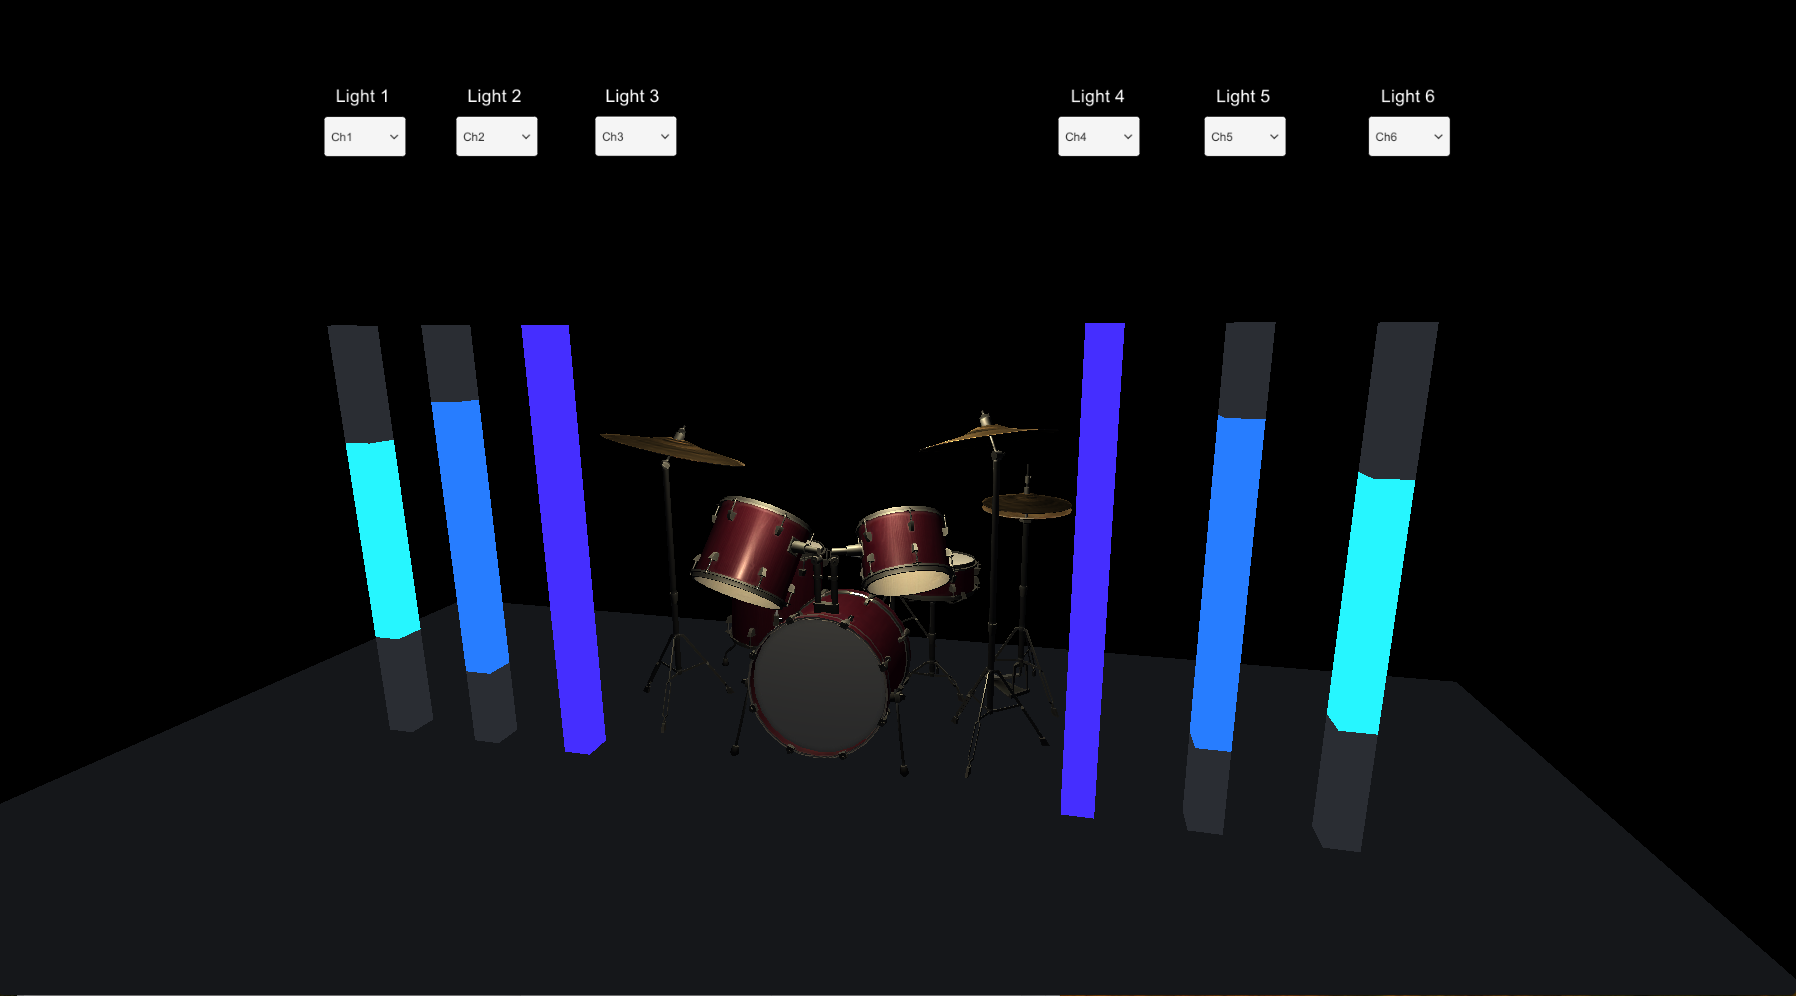
Lastly, I wanted to make it easier for them to program the lights without having to physically set them up, so I developed a virtual simulation of the lights, which they could run on their computer and program the lights anytime, anyplace … and YOU can play with a web version of it below! GGFO’s Virtual Stage Lights web edition.
Deliverables:
— 6 Custom Stage Light Fixtures controllable with any MIDI capable keyboard, drum pad, or Ableton Live
— Virtual Simulation for Desktop Computers making it easy to program the lights anytime, anywhere
INTERACTIVE DEMOS
I figured it’s more fun to start with interactive demos of how the lights work before getting into the nitty gritty of how I made them. So I made this web version of the virtual environment for programming the lights to make it easier to understand exactly how they can be controlled. Essentially there are 4 parameters that can be played (represented by the sliders) to make the lights do stuff. Each of these parameters is meant to mimic an actual physical knob or slider on a MIDI keyboard or synthesizer. Then there are animations that can be triggered here with the “Animation Triggers” buttons. These animation triggers would actually be mapped to specific notes on a MIDI keyboard or synthesizer.
Live Control with MIDI Controller
One of the great things about using MIDI to control lights is that it’s very easy to hook up a MIDI Keyboard or cheap MIDI controller directly to the lights and start controlling them and making cool lighting effects. In this video, I’m using an M-Audio Trigger Finger that I think I bought used for $50 like 8 years ago.
Each tower can be controlled independently of the others by assigning it a different MIDI channel. So it’s possible to animate them all in unison, or make them all act independently. In the video I’m just controlling them all in unison since I only have one MIDI controller.
Automated Control With Ableton Live
These days, nearly all bands use some sort of live playback program (such as Ableton Live) to run tracks and various other elements of their live show to make it more immersive. With regard to the MIDI controlled LED towers, a program like Ableton Live allows for much more complex animations to be programmed by recording the twiddling of knobs from a MIDI keyboard, adding more twiddles after the fact, then combining it all together, syncing it to the music, and playing it back on stage for maximum effect.
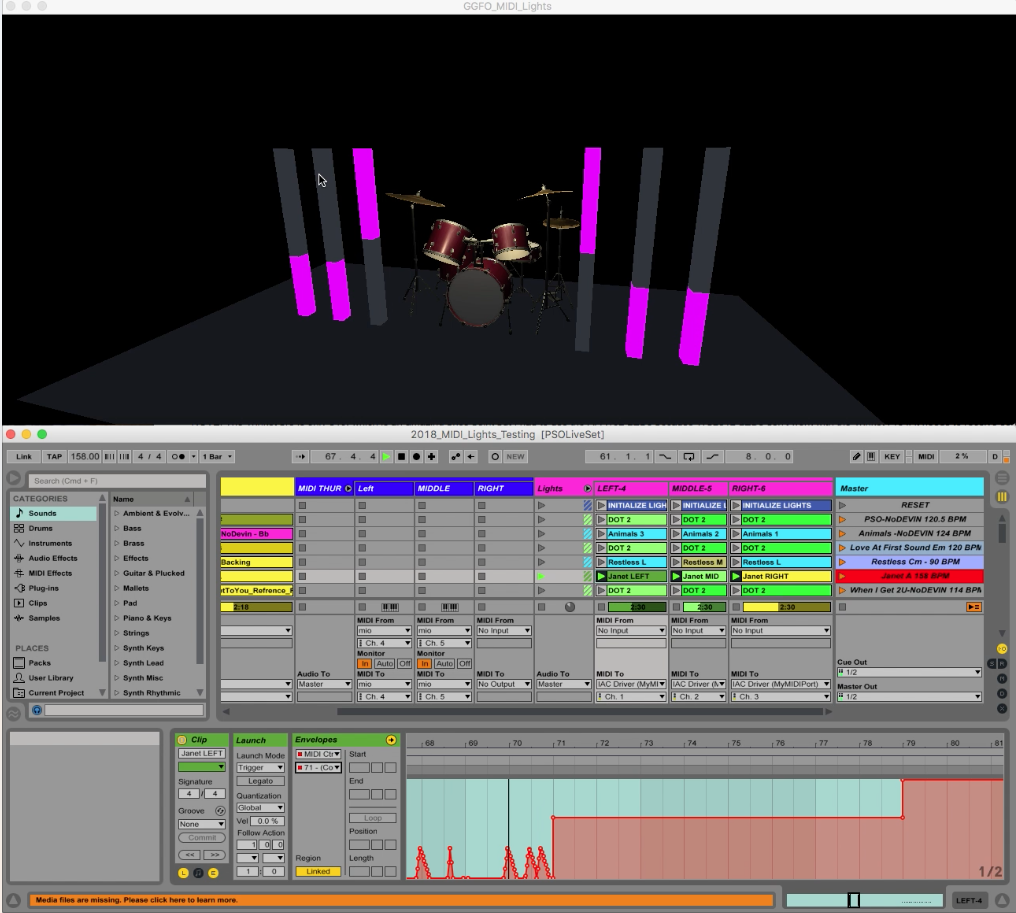
Here’s a video showing some very basic Ableton Live programming of MIDI CC Messages to control the towers. At the top of the video is the Virtual Environment that I developed using the Unity Game Engine and on the bottom you can see Ableton Live and the various MIDI automation curves that are controlling the towers.
Note about the Virtual Environment: I wanted to make it easy for the band to program the light towers on the go without having to set up the physical towers each time, hence I built the virtual environment that mimics the towers. It can be run on any Mac computer and can receive MIDI input from any music software such as Ableton Live.
THE BUILD
The creation of the actual physical LED Towers can be broken down into 3 distinct components. The Electronics, The Code, and The Physical Enclosure
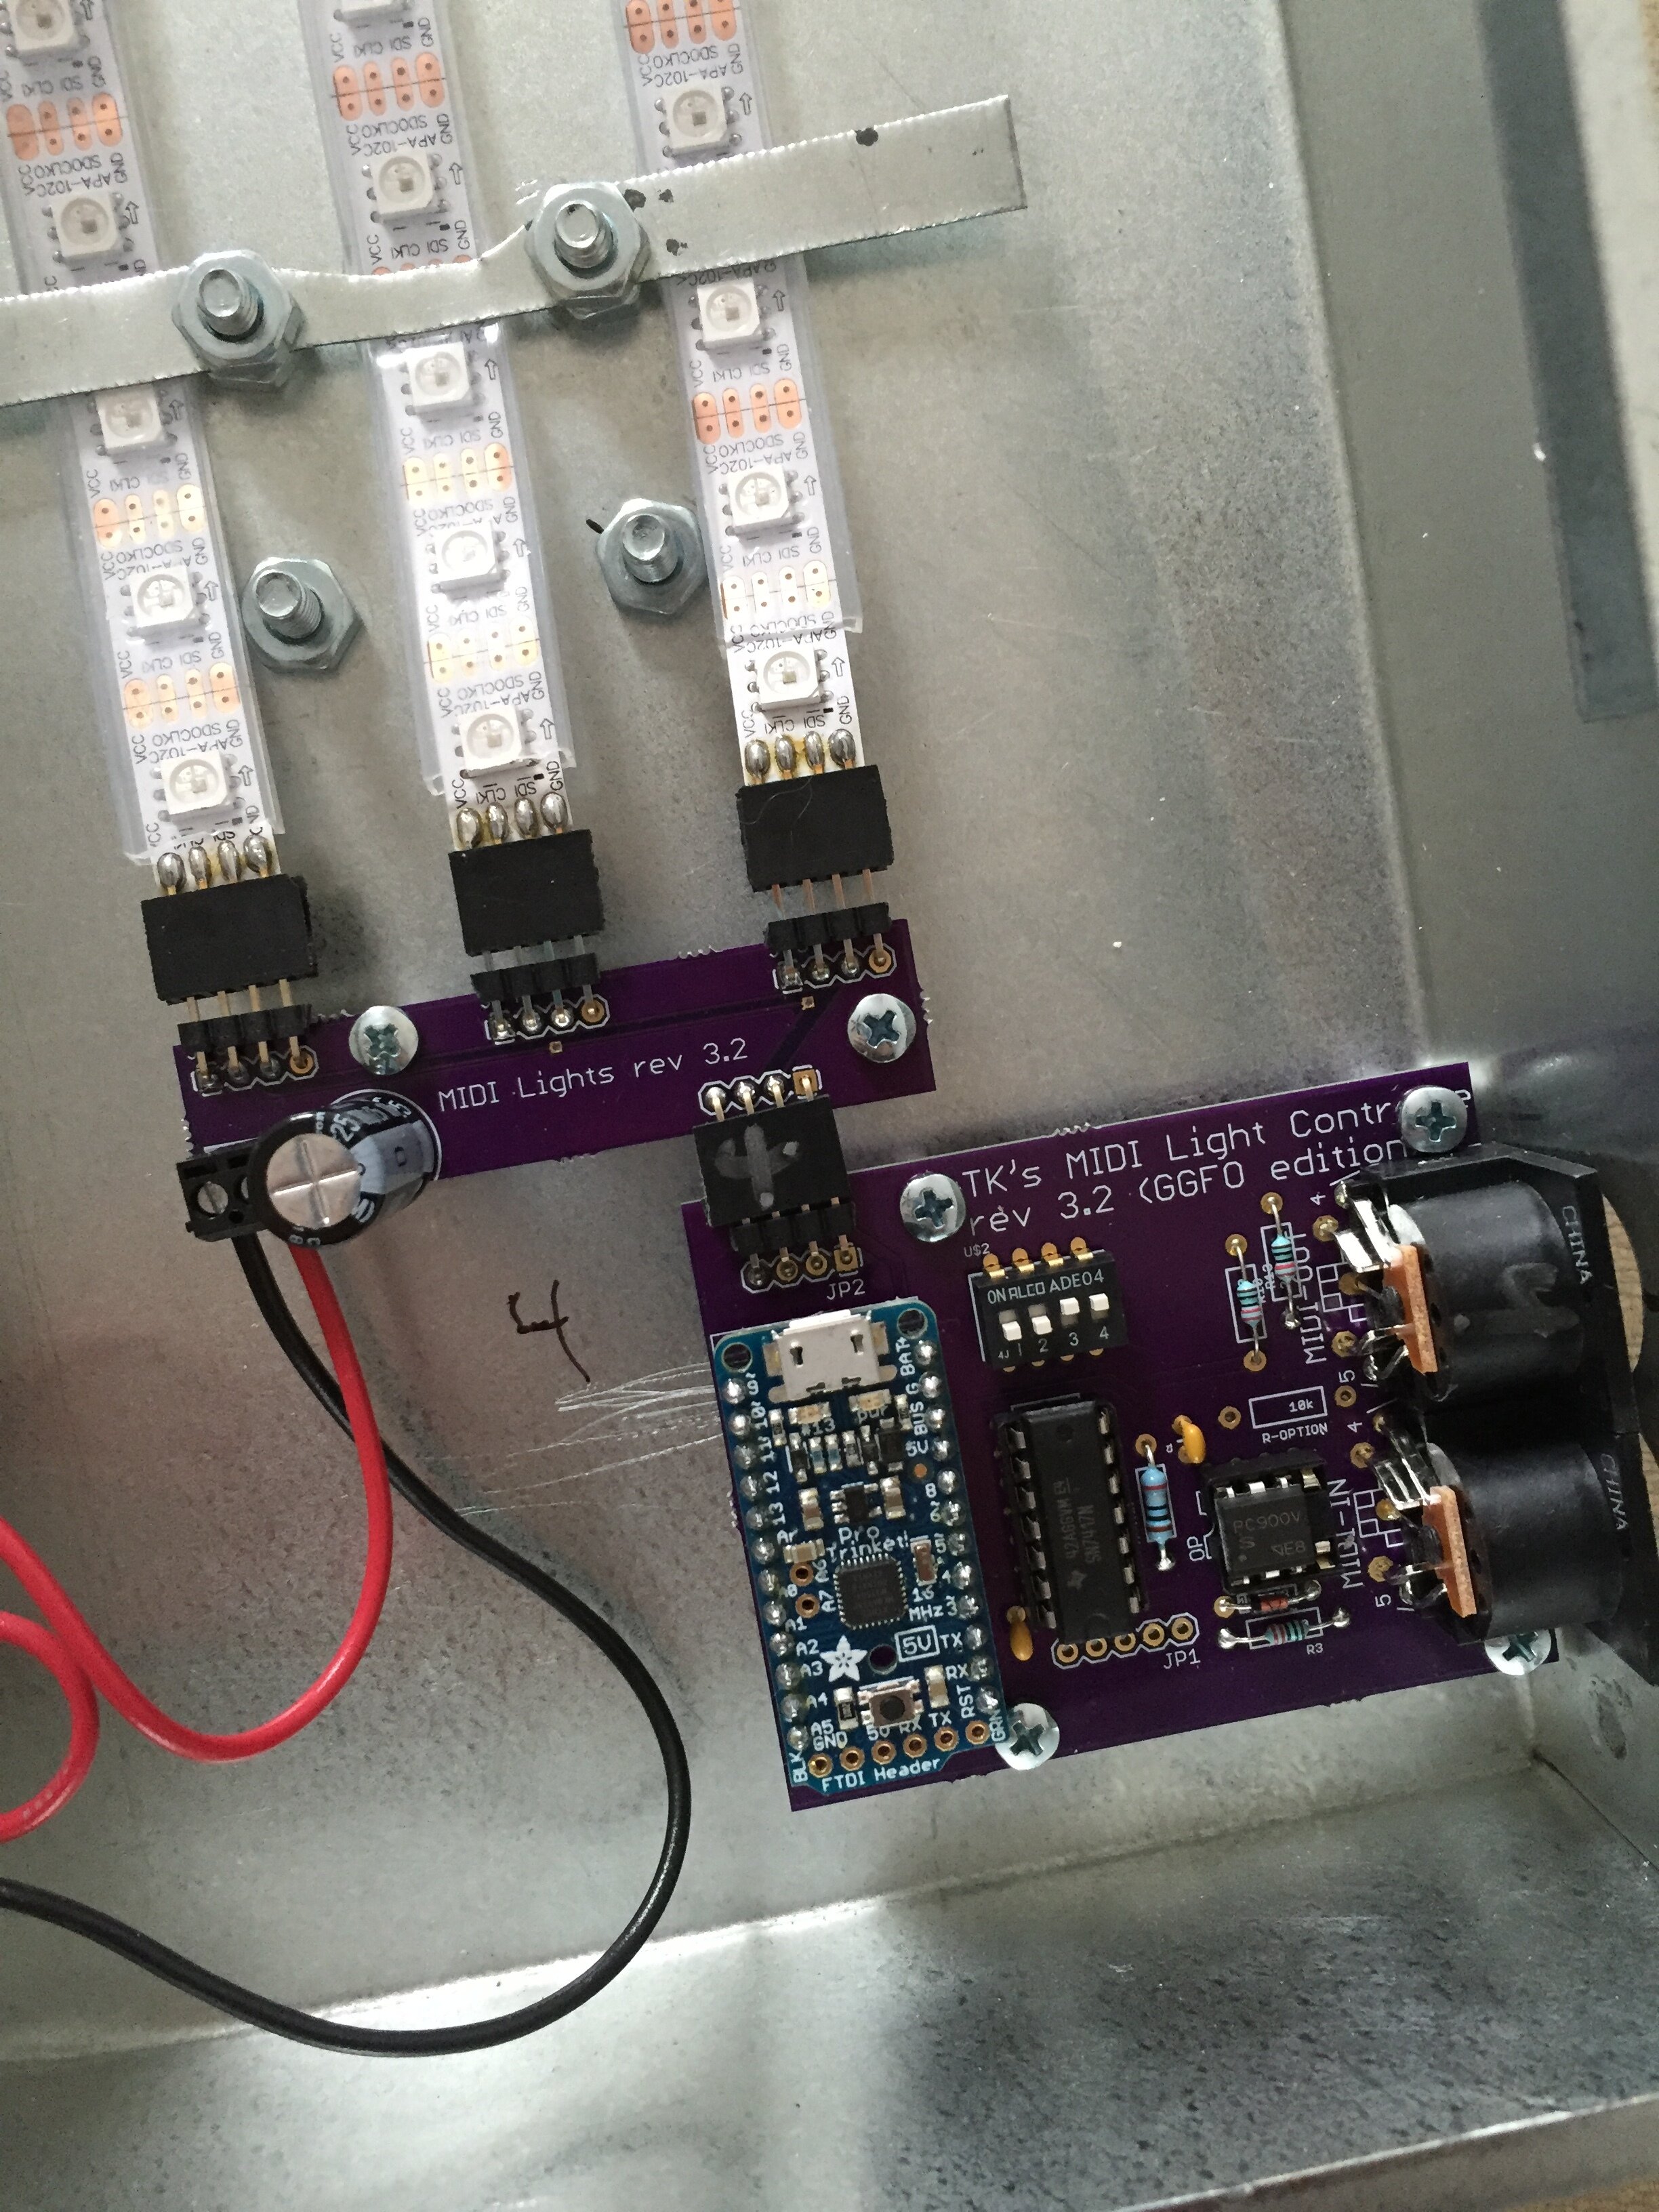
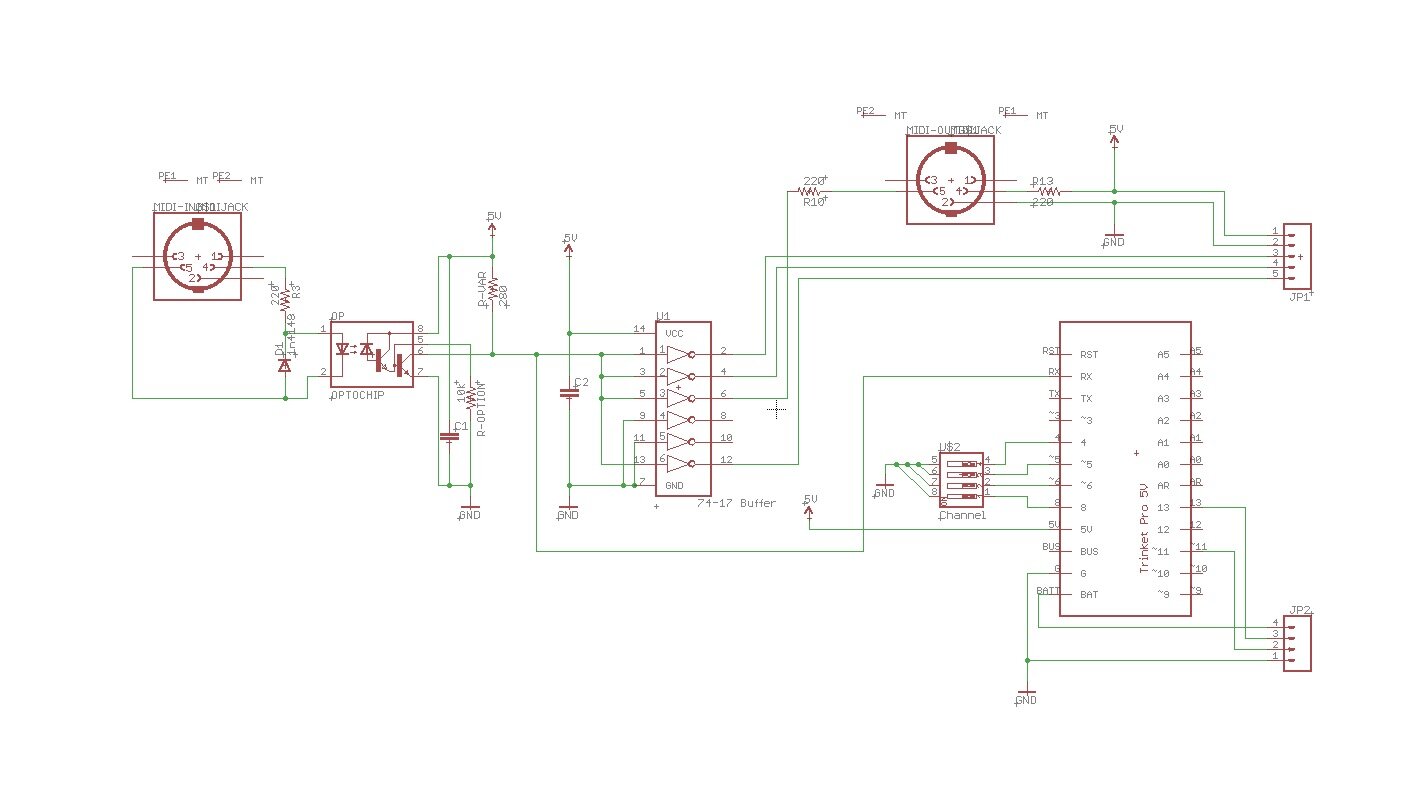
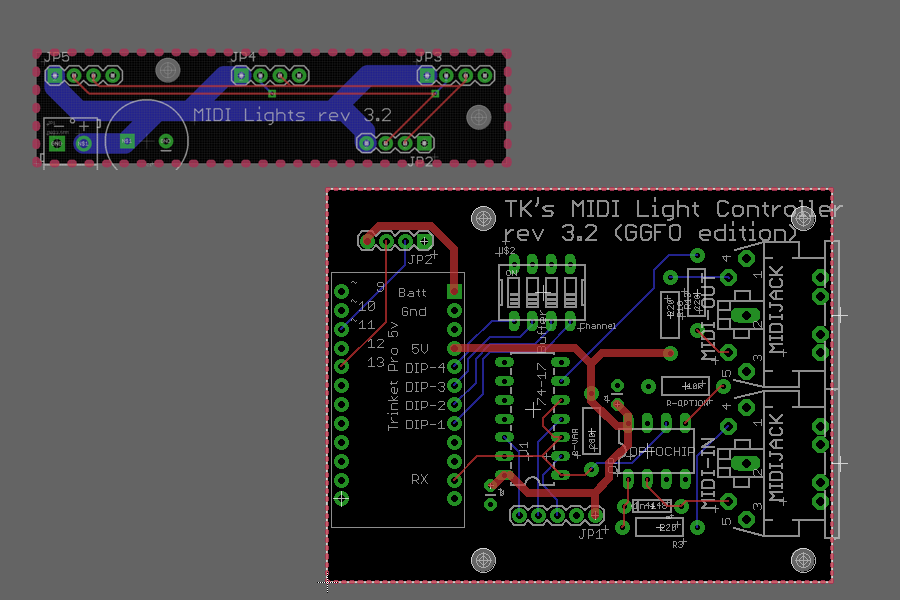
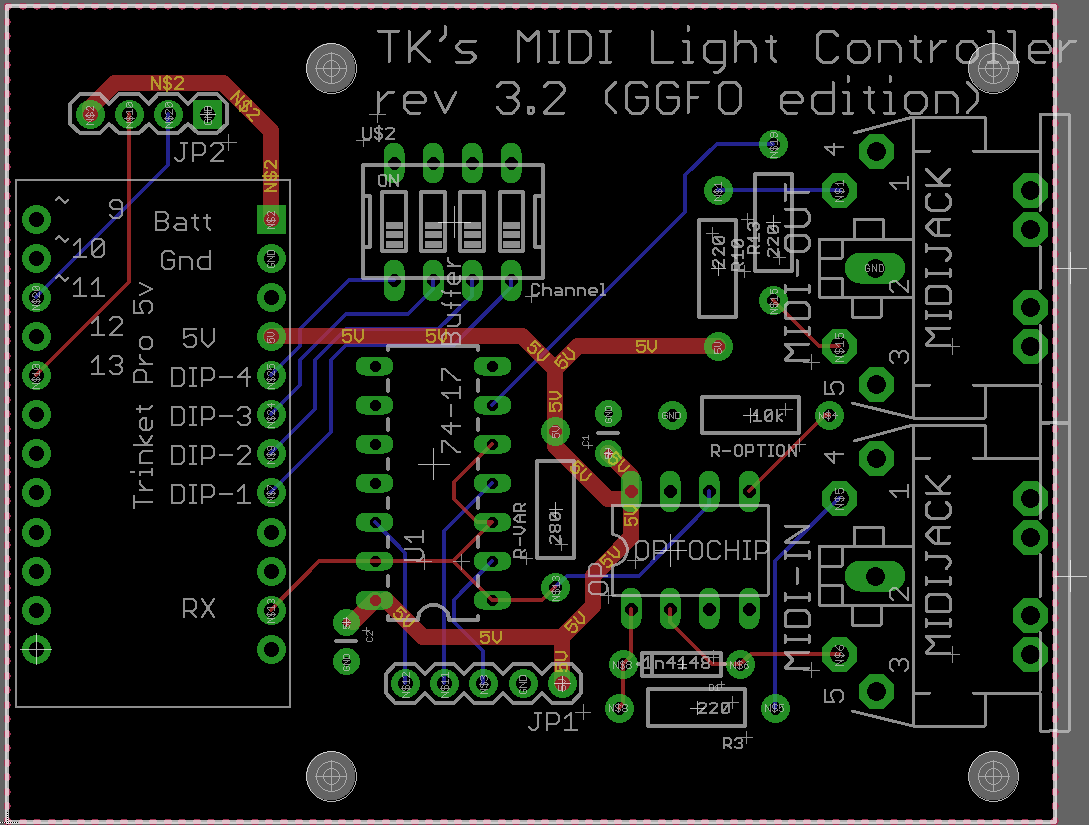
— ELECTRONICS: Custom Printed Circuitboards for MIDI Input, power distribution, and LED Strip connections
— CODE: Written in C++ using the Arduino IDE (Trinket Pro 5V)
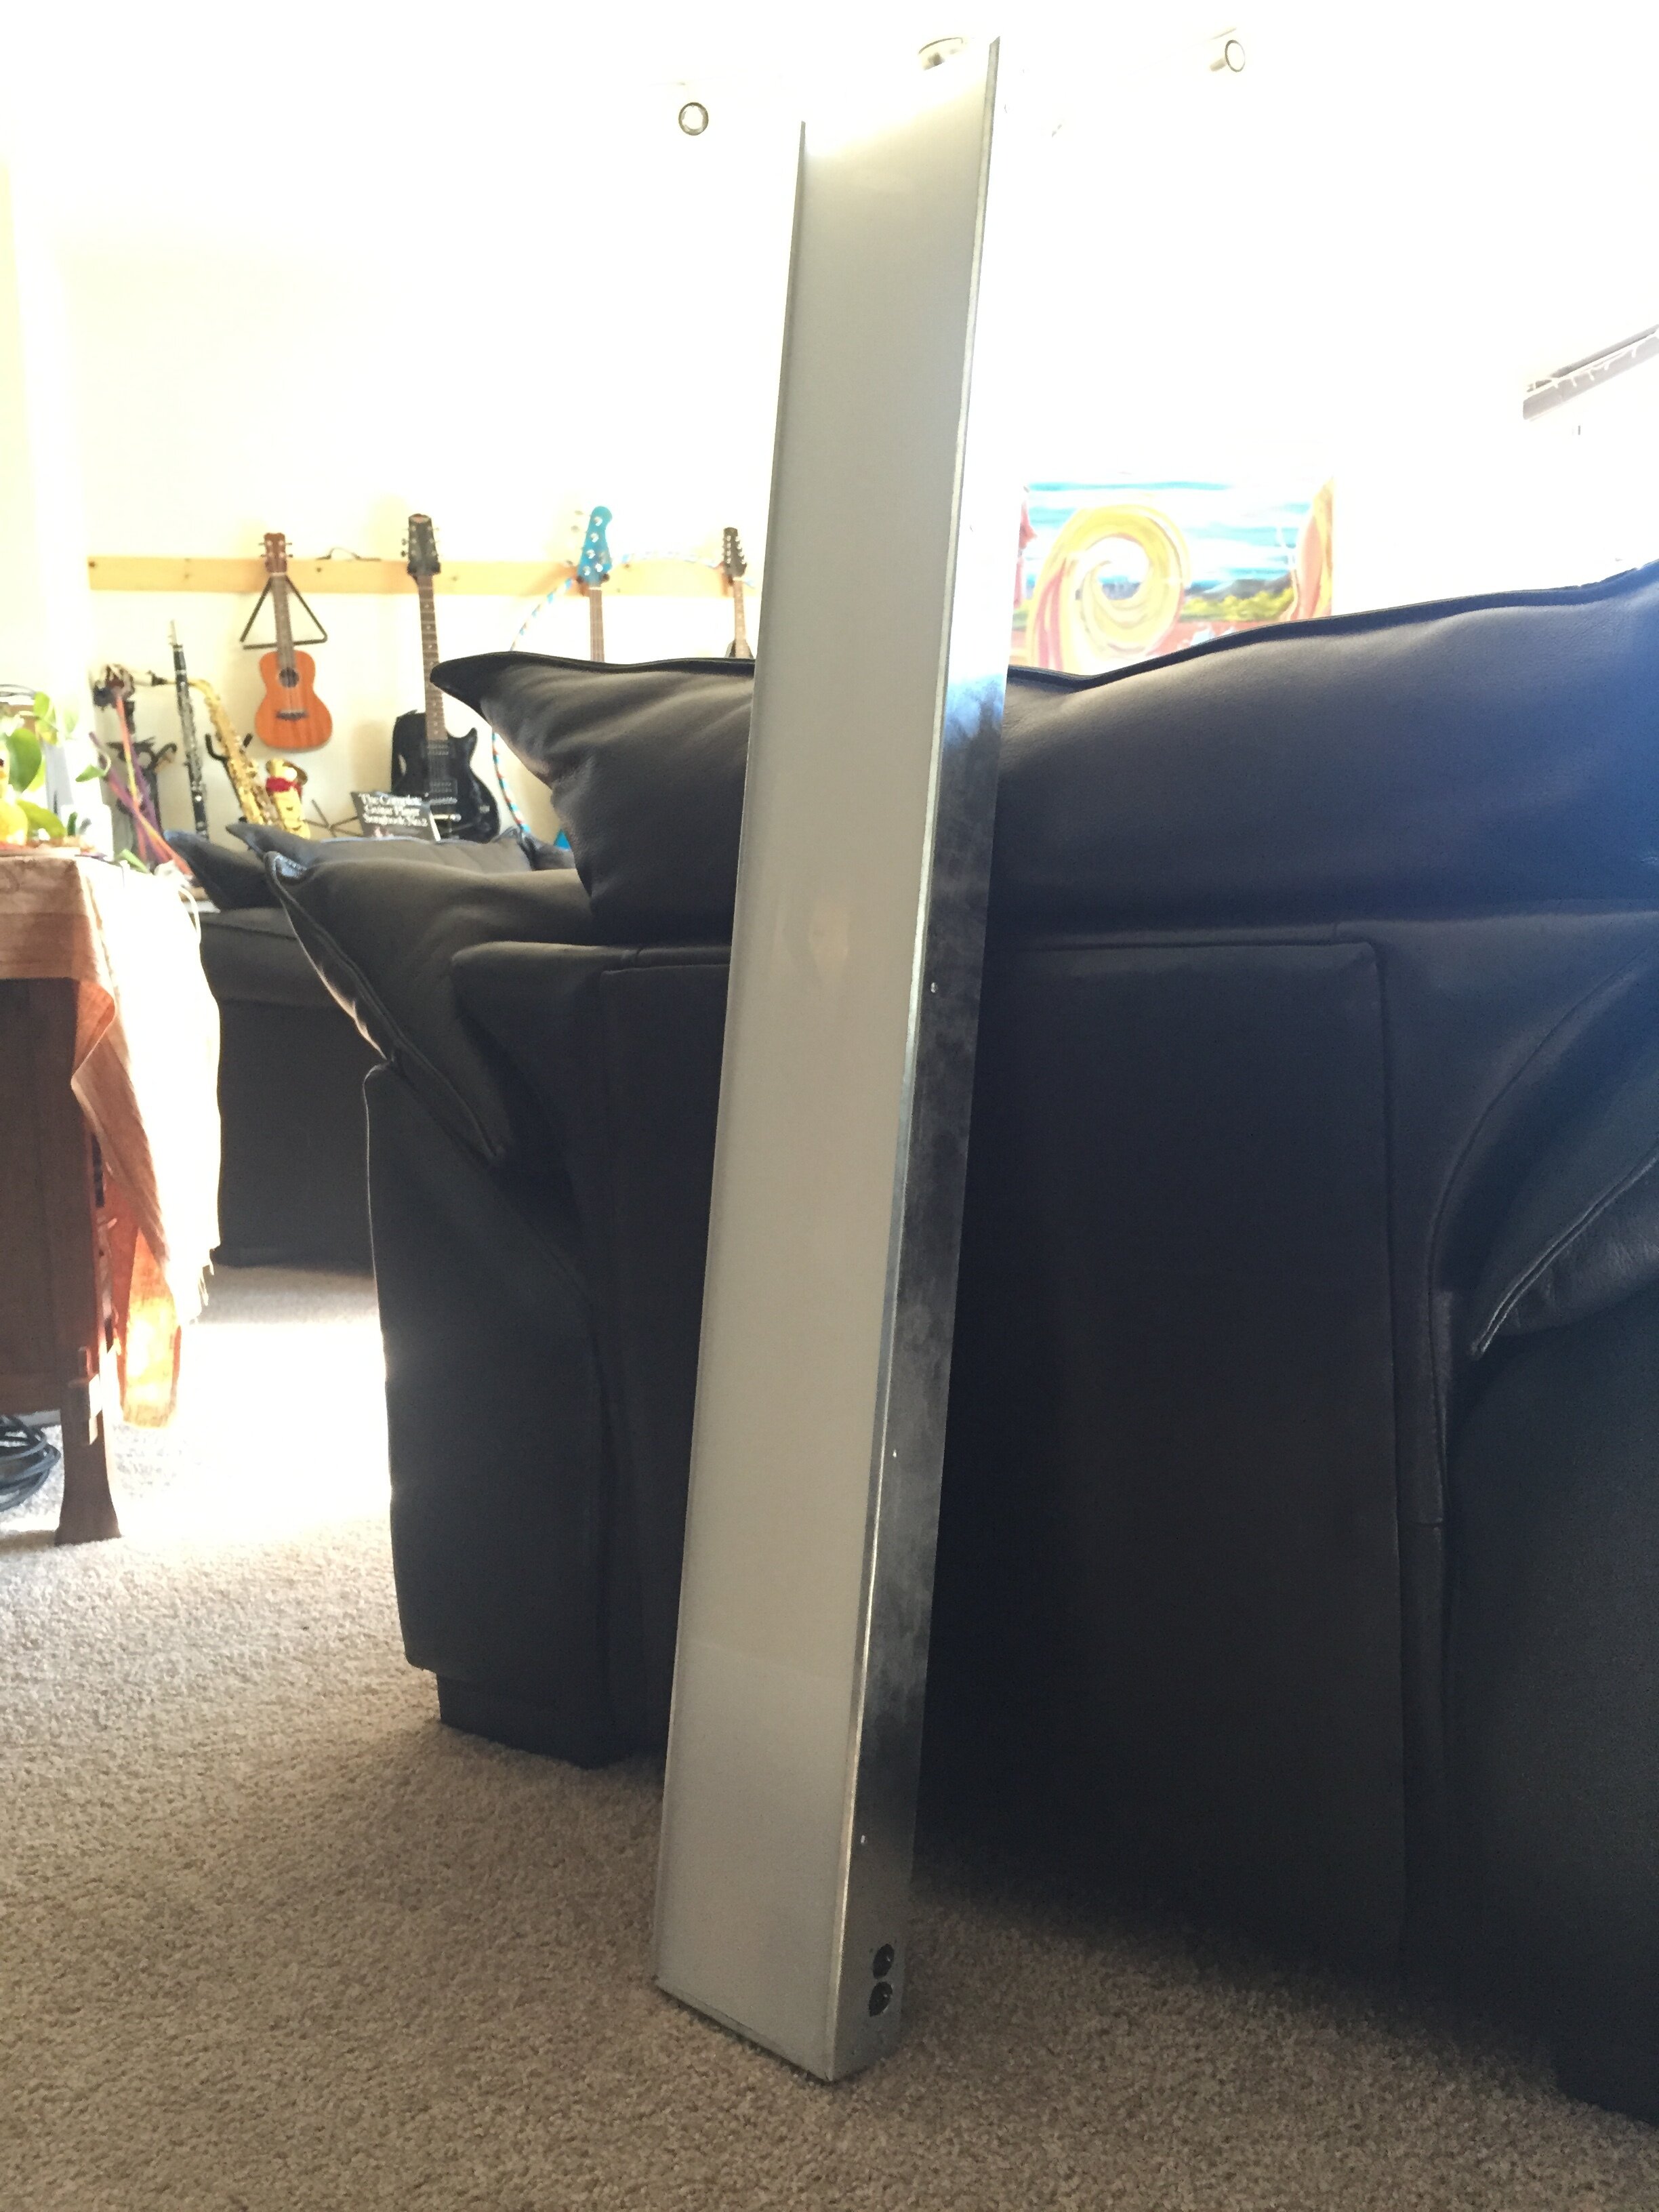
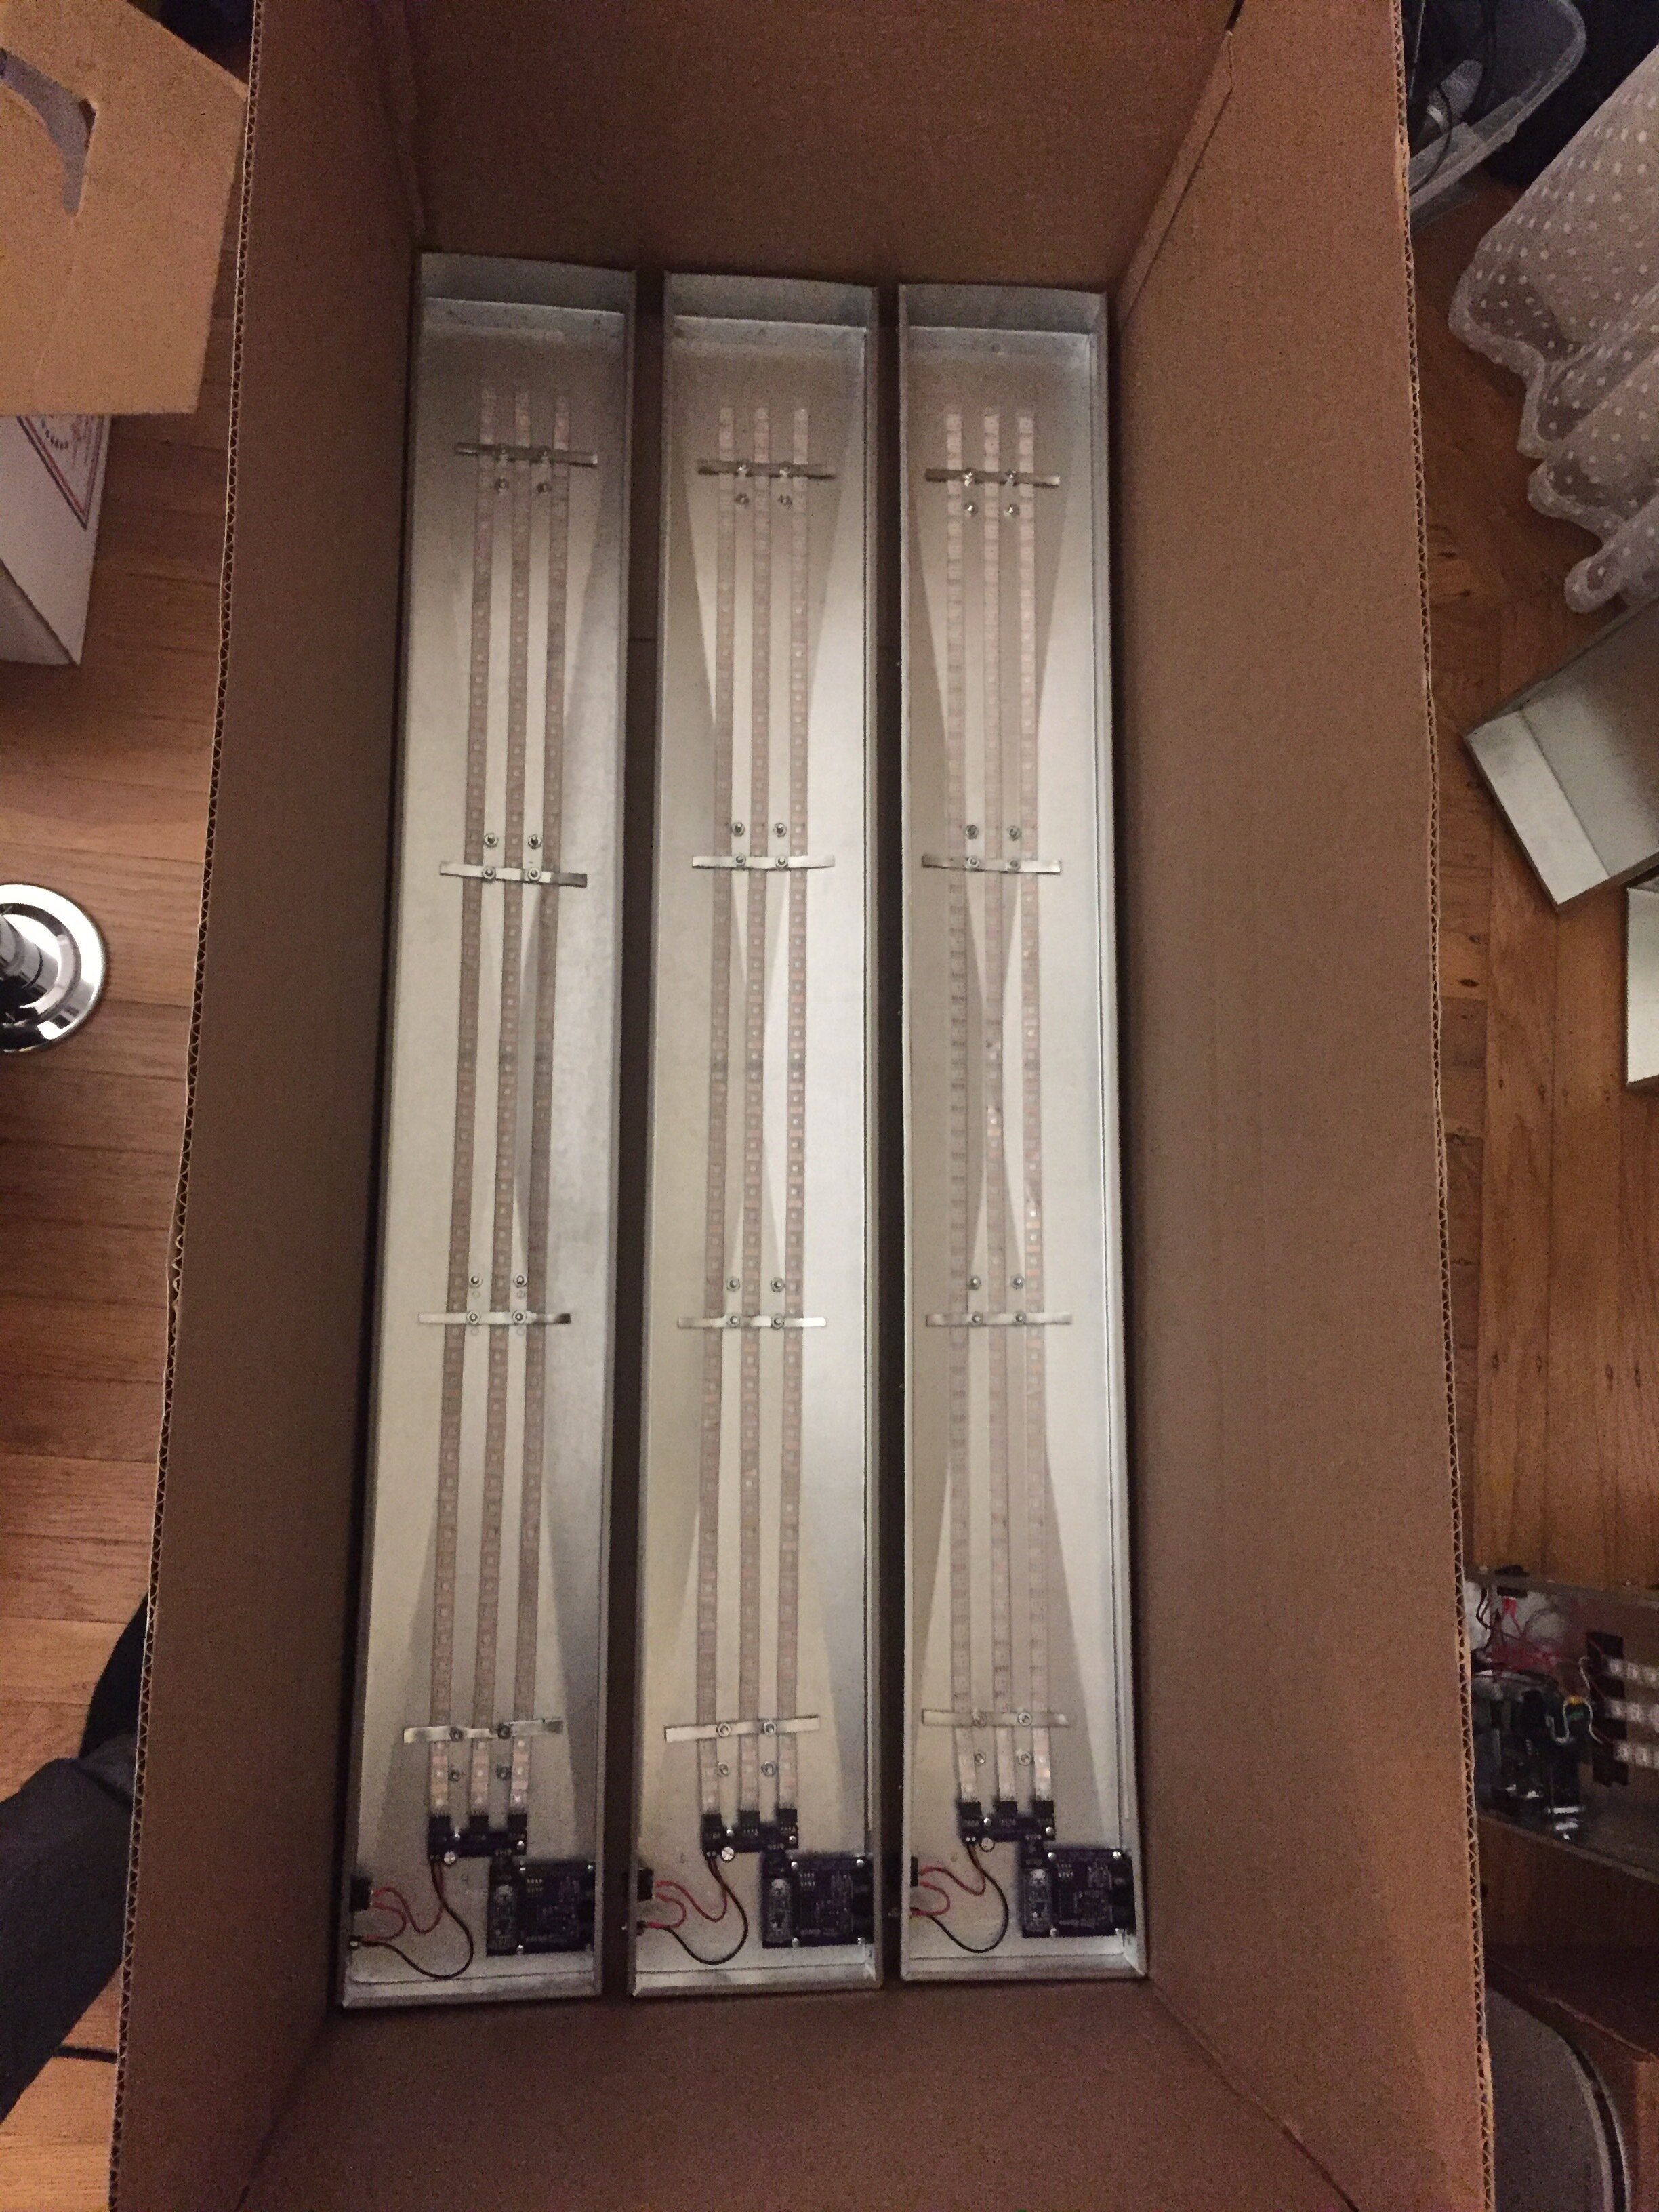
— ENCLOSURES: Made from 26 gauge steel (like what is used for HVAC ducts) with slot for an acrylic panel to diffuse the light
Here’s a couple pictures of the final product I shipped to GGFO back in 2016


Electronics
I built the schematic and did the board layout using Eagle CAD. Then sent the design files to OshPark to have them fabricated in their classic purple PCB color. I ordered all the components from DigiKey and then soldered them all on the PCBs.


Code
I wrote all the code for the Trinket Pro 5V in C++ using the Arduino IDE. This code tells the Trinket what to do with the MIDI input and how to convert it into data that the LEDs can understand. This would not have been possible if it weren’t for some other amazing open source contributors who made the two libraries I needed to actually achieve all of this. So big shout out to FortySevenEffects for their super easy to use and quite robust MIDI library and of course, to the makers of FastLED. You all are the best!
Enclosures
This was the only part of the project I didn’t do myself. Metalwork isn’t really in my wheelhouse (at least not yet) and I happen to have an insanely talented friend who can basically build anything. So I worked with him to get the dimensions and specifications down and then he fabricated the enclosures in his metal shop in Marin. Shoutout to Jake LaCore for making these beauties better than I could have imagined!
Lastly, I had the acrylic panels cut out of 1/8” thick 60% lighting white acrylic at Tap Plastics in San Francisco. Love that place!
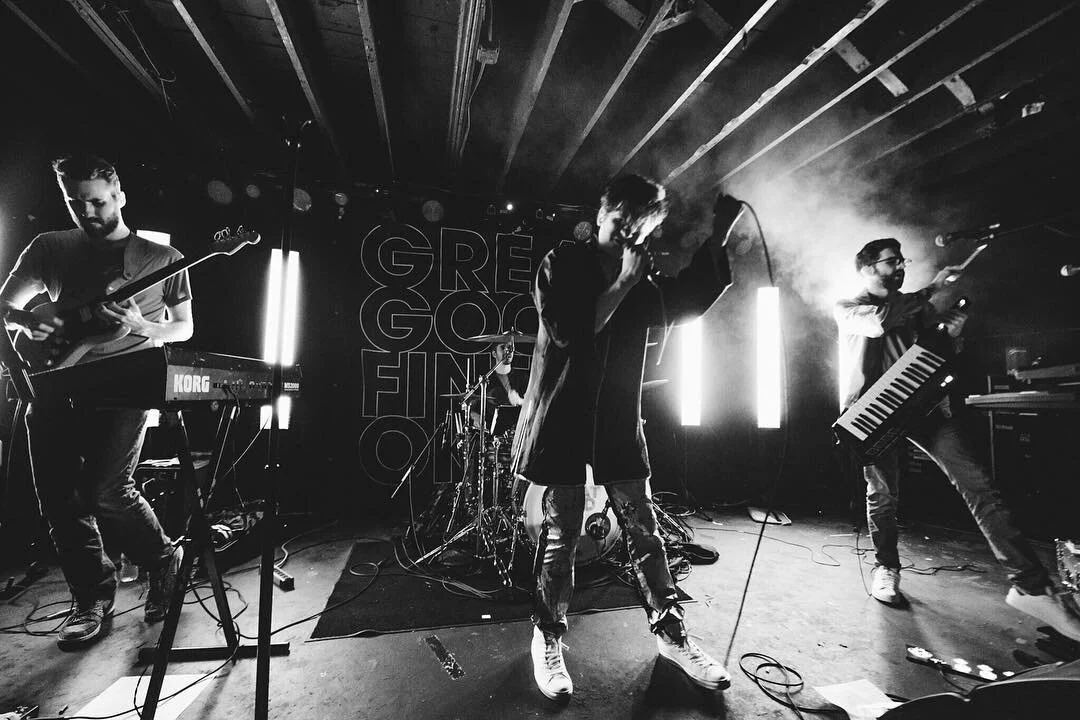
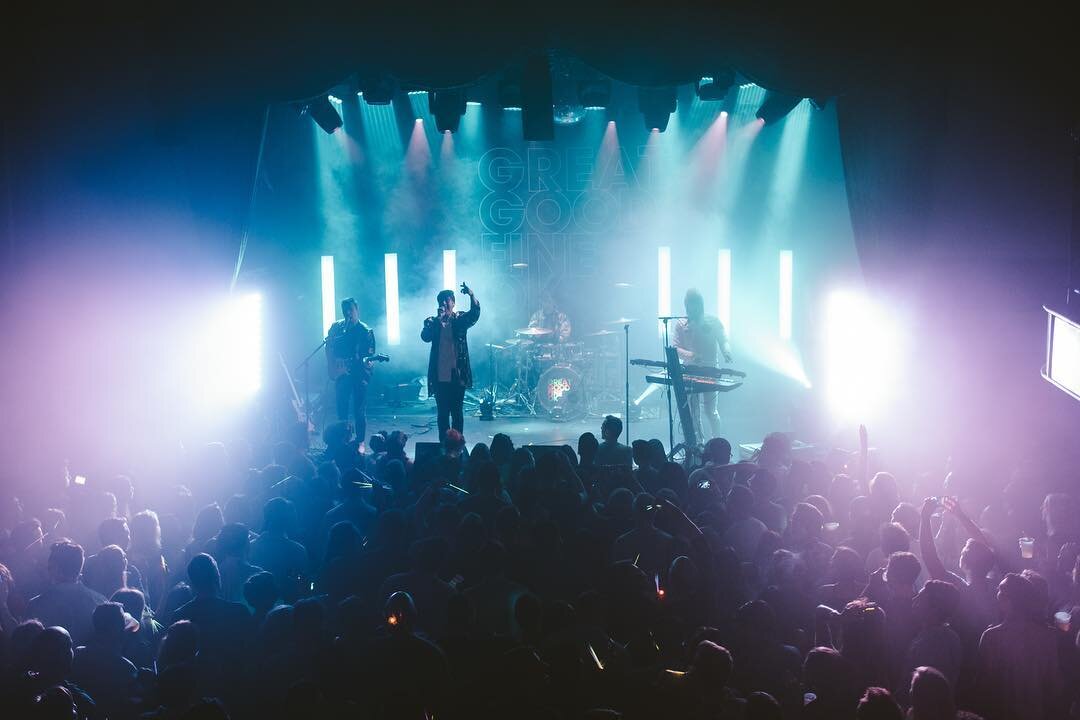
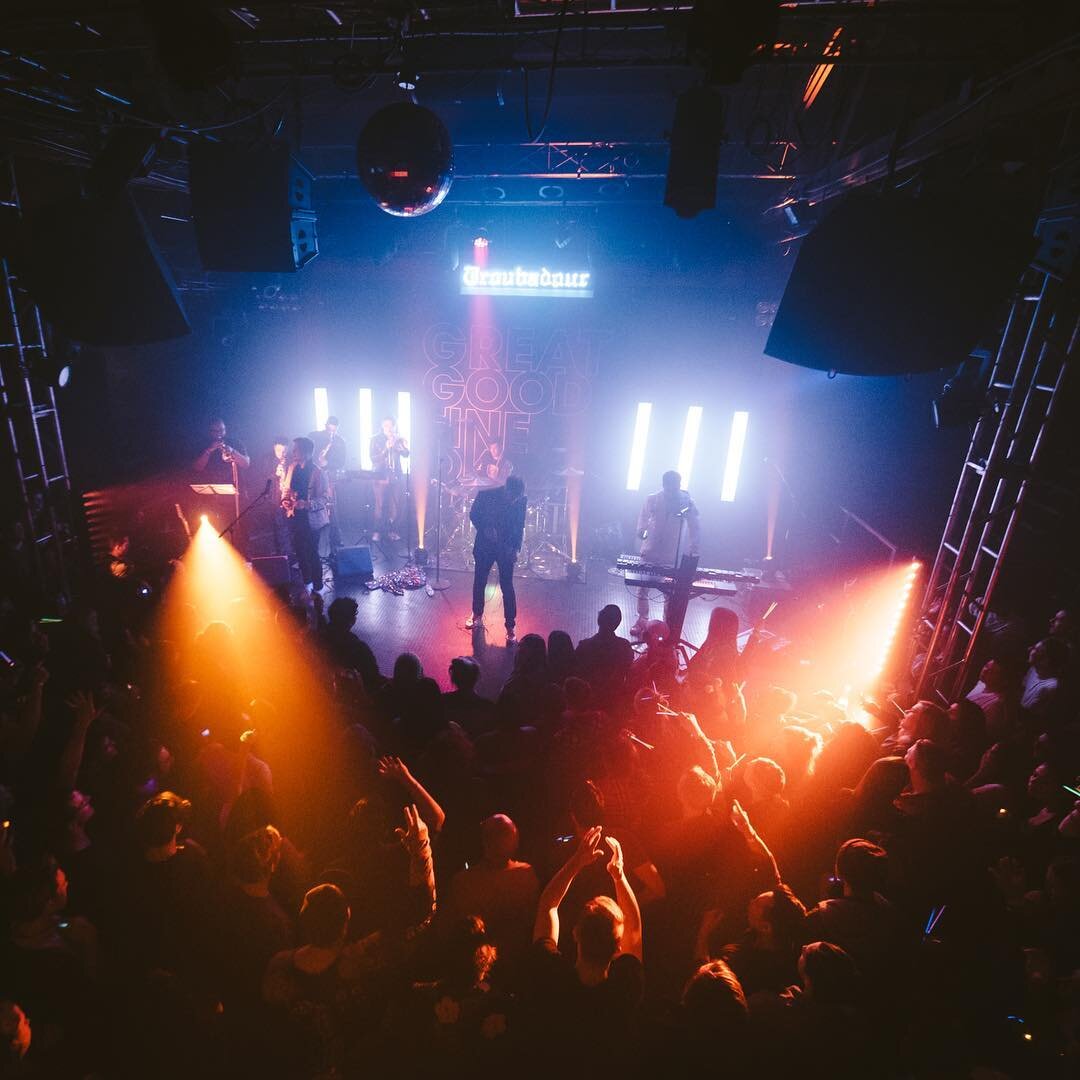
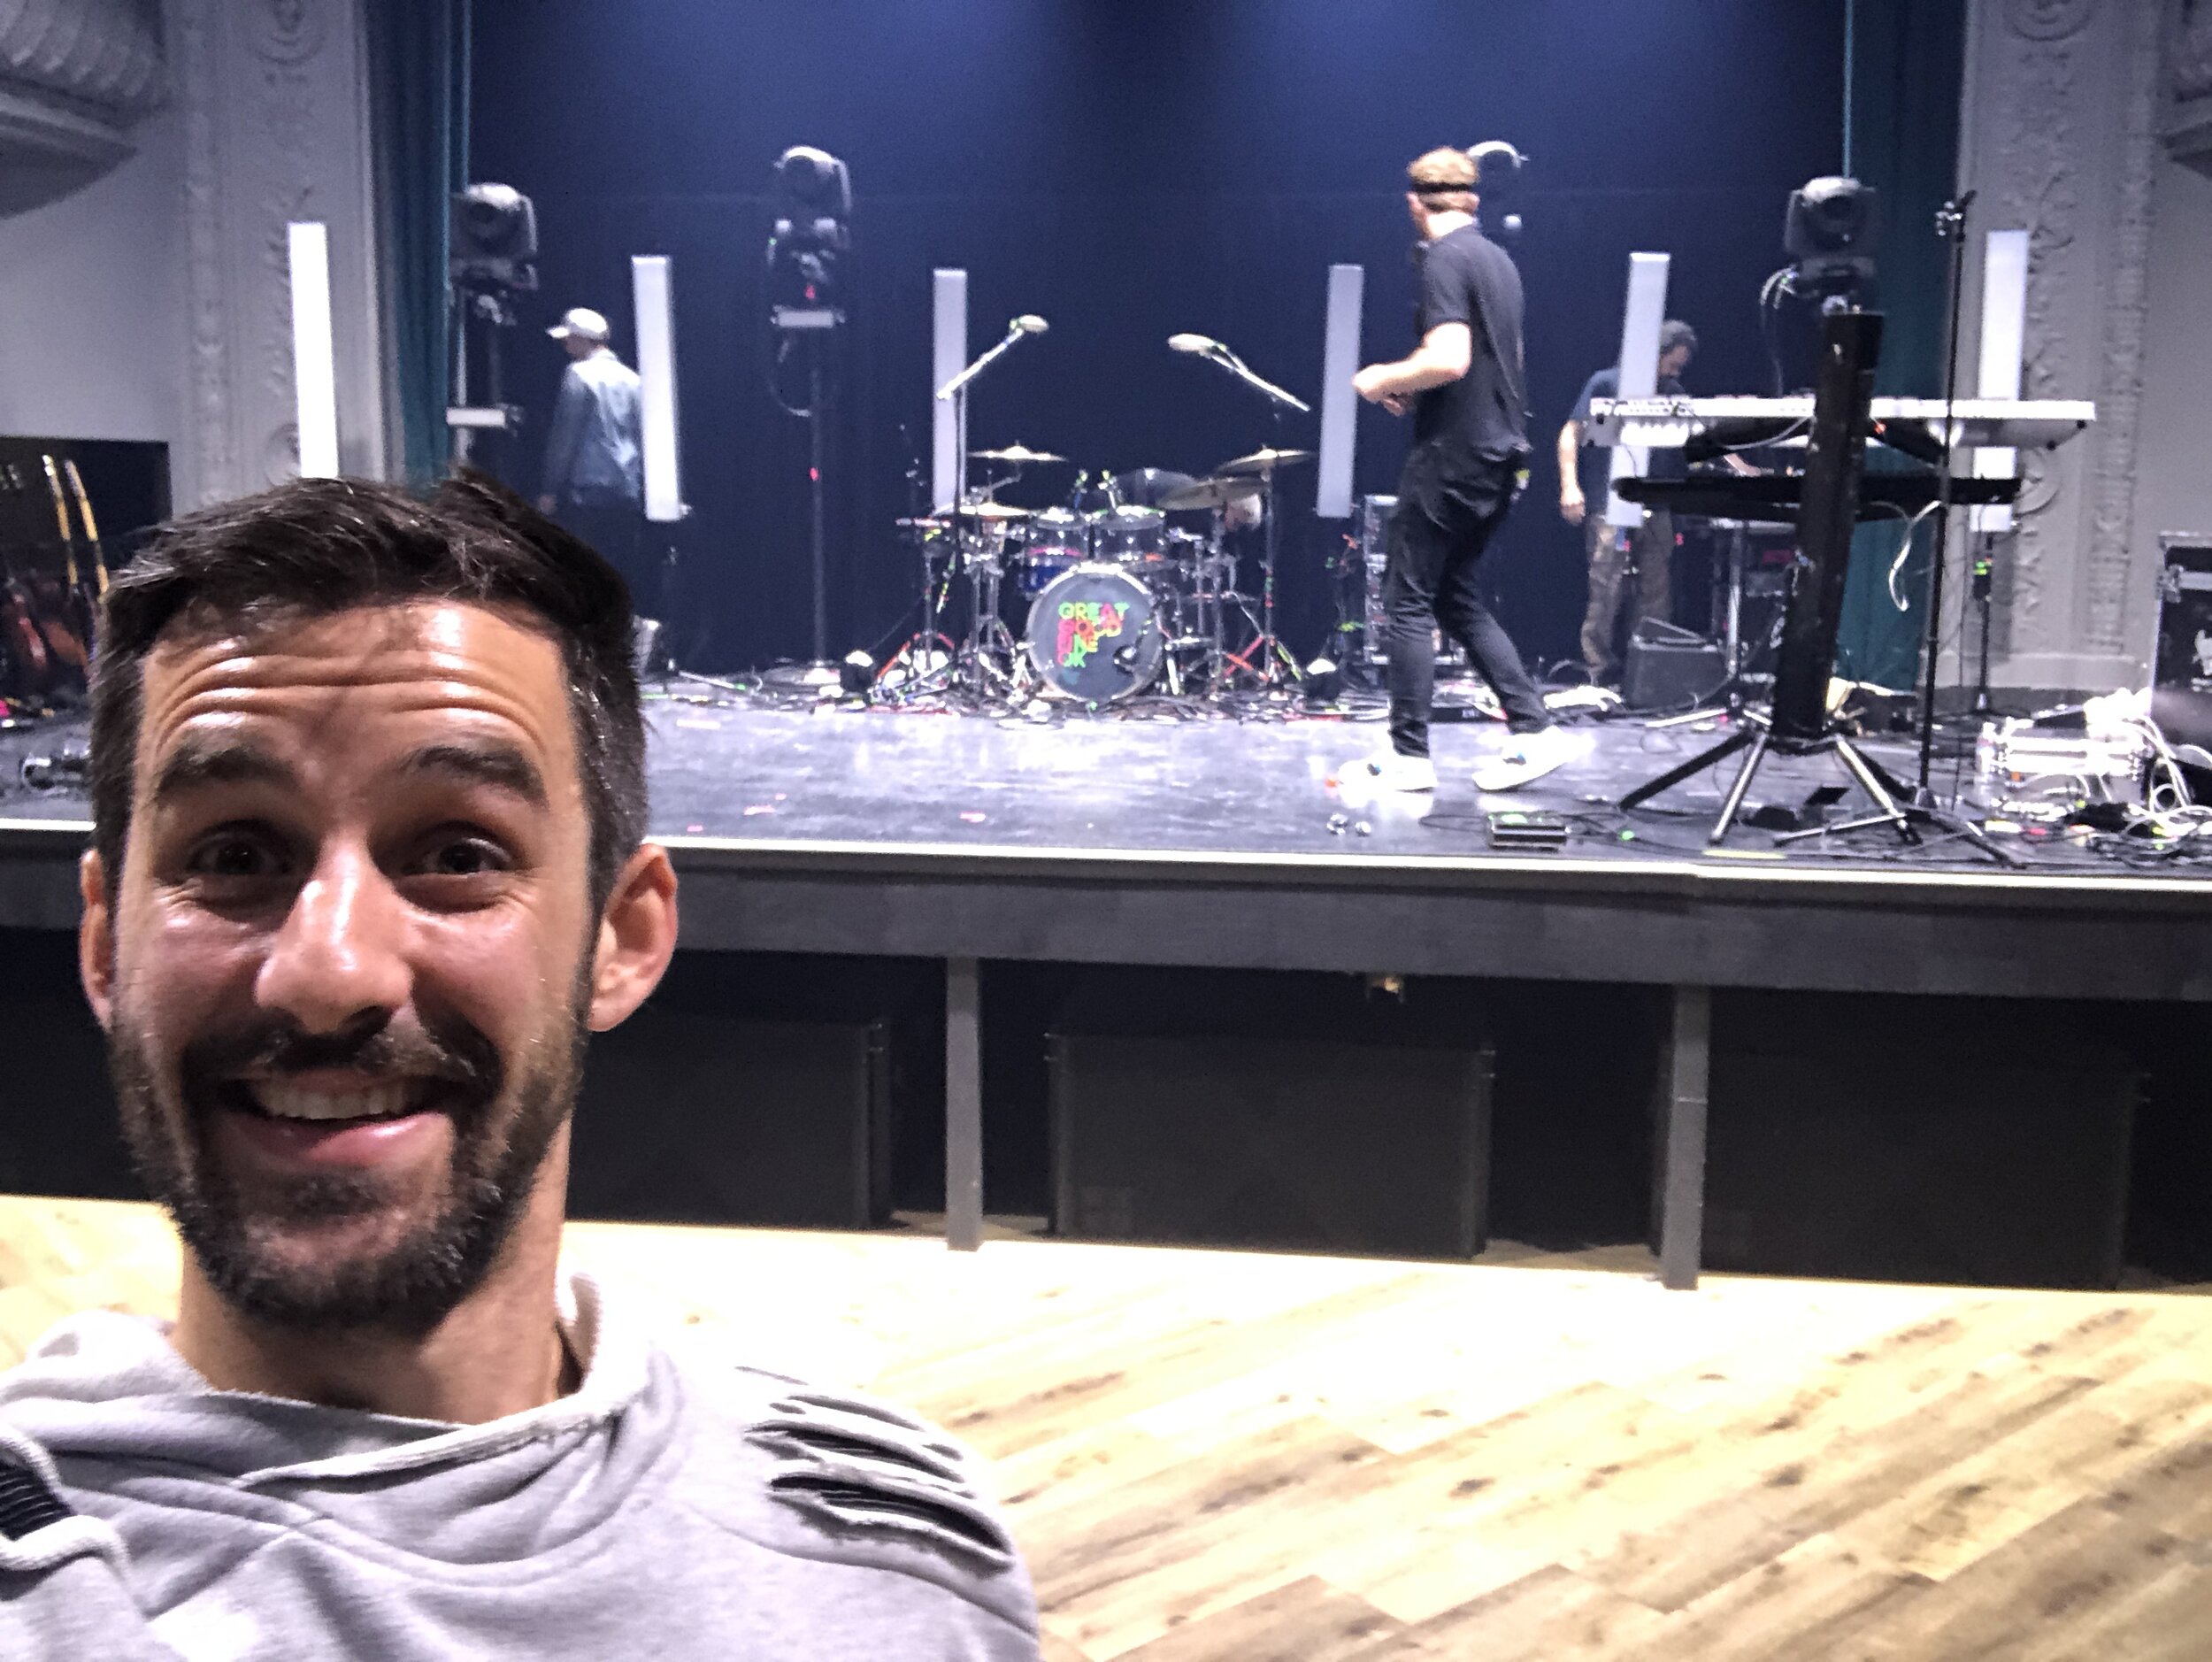
PRESS PHOTOS
These photos are all from GGFO’s Instagram Feed